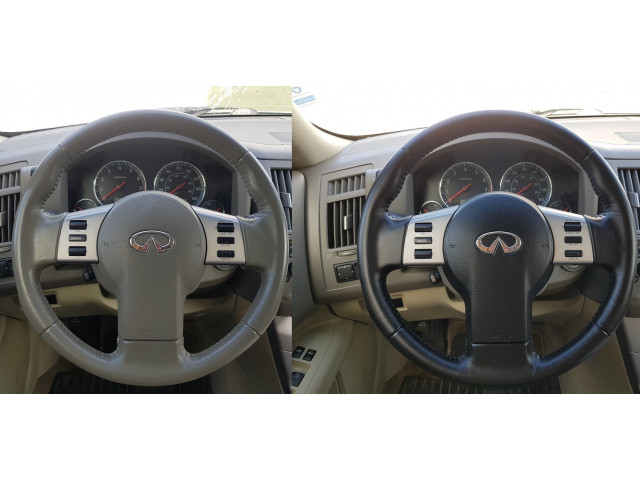
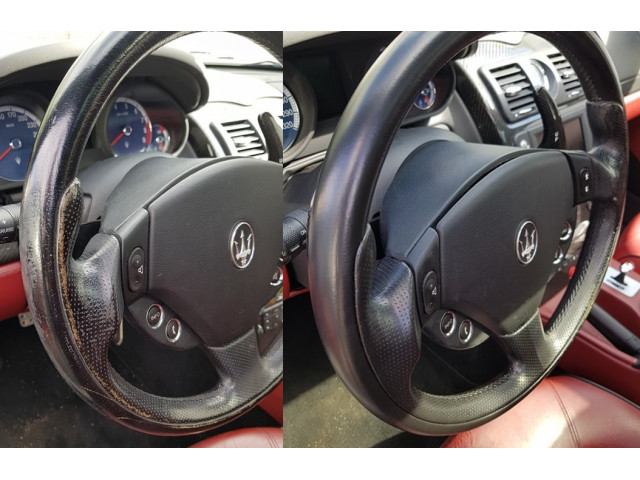
Over time, a leather steering wheel often loses its original color and finish. This is due to constant use, dirt penetration and sun damage.
Constant contact with the hands inevitably leads to dirt and grease (skin lotion, hand cream, etc.) being transferred to the steering wheel.
Exposure to sunlight for long periods of course also leads to the color fading over time.
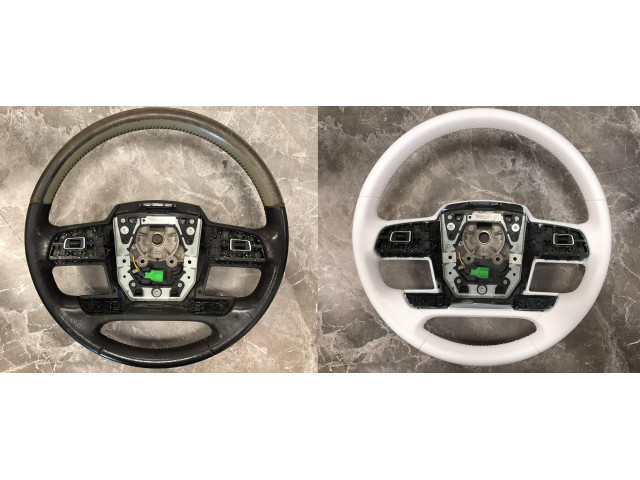
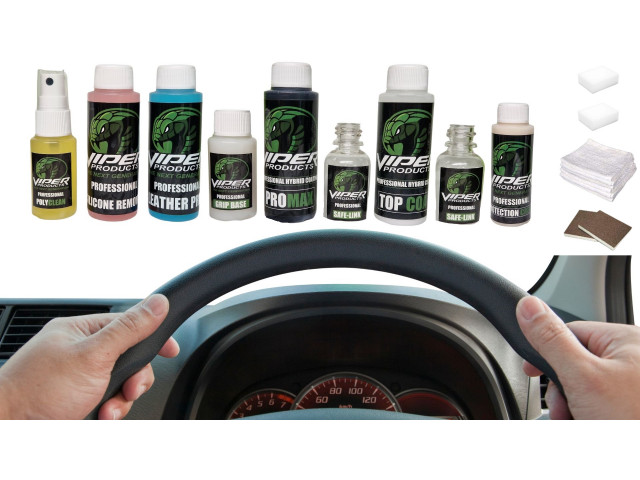
The kit contains everything you need to make a stylish and durable restoration of your leather steering wheel.
The products are user-friendly and gives you a perfect showroom result.
Contains
50ml Cleaner
50ml Silicone Remover
50ml Leather Prep
50ml Leather Binder
50ml BLACK Steering wheel color
50ml Top Coat Semi-Matt
10% Safe-Link (hardener)
30ml Protective cream
Applicator Sponge (Semi-Soft)
Lint-free cloths
Terry cloth
Abralon Slip Pads (500 & 1000)
LeTex Gloves (Heavy Duty Nitrile)
Step-by-Step instructions
Instructions
1. Thoroughly clean the steering wheel with Leather Cleaning and allow to dry. A hair dryer speeds up the drying process.
2. Carefully sand down the leather surface so that it becomes matte with the Abralon Pad (500), focusing on "uneven" wear and crackling.
3. Brush on Leather Degreaser Gel and let dry for 25-30min until the gel has become powdered. Then vacuum off the powder
4. Moisten a clean cloth with Leather Prep and wipe the entire leather surface. When the steering wheel color discolours in the cloth, you are done. Then sand the steering wheel with a Abralon pad (1000) and wipe again with Leather Prep.
5. After the previous step, the skin may have become fibrous or rough; use Leather Binder in these areas which strengthens and repairs the surfaces. Apply Leather Binder to the supplied sponge and "dab" it in the damaged areas. It should be applied in thin layers with pressure so that the binder is sucked in properly. Let the binder dry (speed up with a hair dryer, estimated drying time is then about 15sec). Sand the surface carefully with a 1000 sand pad, especially where the binder has been applied. Then wipe the surface with Leather Prep.
6a. The first layer of color is massaged in with a thin layer, similar to brush painting. Then you can easily get into hard-to-reach nooks and crannies and make sure that there is color everywhere on your leather item.
6b. Apply the number of color layers you think are needed to achieve the desired result. Intermediate sanding if necessary with Abralon Pad (1200). You can use the included Sponge, Airbrush or Preval Sprayer. With the sponge, use "dabbing style" in thin layers.
7. Apply 3 coats with Top Coat + Safe-link
The paint needs 24 hours to cure, but can be used with caution after about 2 hours, depending on air temp.
After about 24hrs, the supplied protective cream is applied for the best UV / Surface protection.




There are no reviews for this product.